What Do I Need to Print T-Shirts at Home


Introduction to T-Shirt Printing at Home
Starting to print t-shirts at home is simpler than you might think. All you need is the right equipment and a bit of creativity. Whether for a small business, a band, or just for fun, printing your own t-shirts gives you complete control over the final product. You'll pick your designs, colors, and where each element lands on the shirt. First, you’ll need a design. This can be anything from a catchy phrase to a complex graphic. Then comes the method. The most popular ones include screen printing for its durability and vivid colors, heat transfer for its simplicity, and direct-to-garment for high-quality, detailed images. Each technique has its unique appeal and setup requirements, but don't worry, we'll walk through the basics to get you started on creating personalized t-shirts from the comfort of your home.
Essential Equipment for Home T-Shirt Printing
To start printing T-shirts at home, you need a few key pieces of equipment that will turn your ideas into reality. First, you absolutely need a high-quality inkjet printer; this is your starting point for transferring designs onto fabric. You'll also want to invest in heat transfer paper. This special paper allows you to print your design and then iron it onto a T-shirt, transferring the ink from the paper to the fabric. Speaking of iron, a reliable iron or even better, a heat press machine, is crucial. A heat press provides consistent heat and pressure, ensuring your designs stick properly and last longer. Another essential item is quality T-shirts. The material matters because some fabrics take on ink better than others; generally, cotton shirts work best. Lastly, don't forget graphic design software. It will help you create or edit your designs before printing them. With these basic tools, you're well on your way to producing custom T-shirts from the comfort of your home.
Selecting the Right T-Shirts for Printing
The first step in printing t-shirts at home is picking the right shirts. Not all t-shirts are created equal, and your choice can massively impact how your prints turn out. Let's keep it simple. You want t-shirts that are mostly cotton. Why? Because cotton holds ink better, giving you a vibrant and lasting print. Aim for at least 80% cotton. If you can go for 100%, even better.
Next, think about the color and quality of the t-shirts. Light-colored shirts are your best bet if you're just starting. They make printing easier and the colors pop more. But, if you want to experiment with dark colors, be ready for extra steps, like using a white underbase for your prints to show up.
Quality matters too. A cheap, low-quality shirt might save you some money now, but it won't hold up. The print might fade or crack after a few washes, and the t-shirt itself can quickly wear out. So, invest in decent-quality t-shirts. They'll last longer and make your prints look pro.
Remember, your t-shirt is the canvas for your creativity. Choosing the right one sets you up for success.
Choosing a Printing Method: Screen Printing vs. Heat Transfer
When you decide to print t-shirts at home, you've got two popular choices: screen printing or heat transfer. Let's break it down so you can pick what's right for you. Screen printing is all about using a mesh to transfer ink onto a shirt, except in areas made impermeable to the ink by a blocking stencil. It's great if you plan to print lots of shirts with the same design because, after the initial setup, creating more shirts is quick and cost-effective. But, the setup process can be a bit complex and pricey if you're just making a few shirts. Now, heat transfer involves printing a design onto a special paper and then using heat and pressure to transfer it onto the shirt. This method is super for beginners or if you're looking to make just a handful of shirts. It's simpler than screen printing and doesn't require much equipment. However, shirts made this way might not last as long through many washes, and the cost per shirt can be higher than in screen printing. So, if you're planning to print a big batch and value durability, screen printing might be your path. But for DIYers looking to make a few personalized shirts with minimal fuss, heat transfer is a solid choice.
Preparing Your Design for Printing
Before you start printing, your design has got to be on point. This means no fuzzy logos or blurry catchphrases. Use graphic design software to sharpen those edges and brighten your colors. This will make sure your design pops when it hits the fabric. If design software sounds like a beast, no worries. There are tons of user-friendly options out there, and some are even free. Once your design is crisp and ready, check it on various backgrounds in the software. This lets you see how it will look on different colored t-shirts. Remember, what looks good on a screen might not always translate directly onto fabric, so consider tweaks to make sure it does. Keep your design simple for starters. Complex designs can be cool but remember, the simpler the design, the easier it is to print, especially when you're just beginning. Got it? Great, you're ready to move on to the next step.
Step-by-Step Guide to Screen Printing at Home
Screen printing at home might sound like a big task, but trust me, it's doable with the right steps. First, let’s get what you’ll need: a basic screen printing kit. You can find these online or at an arts and crafts store. They usually include a screen, squeegee, photo emulsion, and ink. Got those? Let's dive into the process.
- Create your design. This is where your creativity shines. Sketch out or digitally design the image you want on your T-shirt. Keep it simple if you’re just starting.
- Prepare the screen. Apply the photo emulsion to the screen evenly in a dark room. The emulsion reacts to light, so make sure no unwanted light leaks in.
- Expose the screen. Once the emulsion dries, place your design on the screen and expose it to a strong light. This hardens the emulsion not covered by your design, creating a stencil.
- Rinse it off. After exposure, rinse off the screen with cold water. The areas covered by your design will wash out, revealing where your ink will go. Make sure your screen is completely dry before you move to the next step.
- Ready to print. Place your screen on the T-shirt. Pour a line of ink across the top of your screen. Using the squeegee, drag the ink across the screen, pressing firmly. Make sure the ink passes through the screen onto the T-shirt.
- Cure the ink. Let the ink dry, and then use an iron or a heat gun to cure it. This makes your design permanent and washable.
There you go! You’ve just printed your first T-shirt at home. With practice, your designs and skills will only get better. Experiment with colors and patterns to make each piece truly unique. Remember, screen printing is as much about the process as it is about
How to Use Heat Transfer for T-Shirt Printing
To get started with heat transfer for T-shirt printing, you only need a few key items: a heat press machine, transfer paper, and a design. First, pick the design you want on your T-shirt. You can create your own or find one online. Make sure it’s mirrored before you print it on the transfer paper; this step is crucial for the image to appear correctly on the shirt. Use an inkjet or laser printer for this. Next, heat up your heat press machine. While it's warming, place your T-shirt on the machine and smooth out any wrinkles. Once your press is at the right temperature, place your transfer paper with the design face down on the shirt. Press it under the heat for the recommended time, usually around 20-30 seconds, but this can vary based on the machine and the material of your shirt. After the time is up, peel off the transfer paper carefully. You’ve now got your custom T-shirt! Remember, the quality of the heat press, transfer paper, and even the T-shirt itself can affect the final product. So, choosing the right materials is key to getting a good result.
Finishing Touches: Curing and Setting Your Print
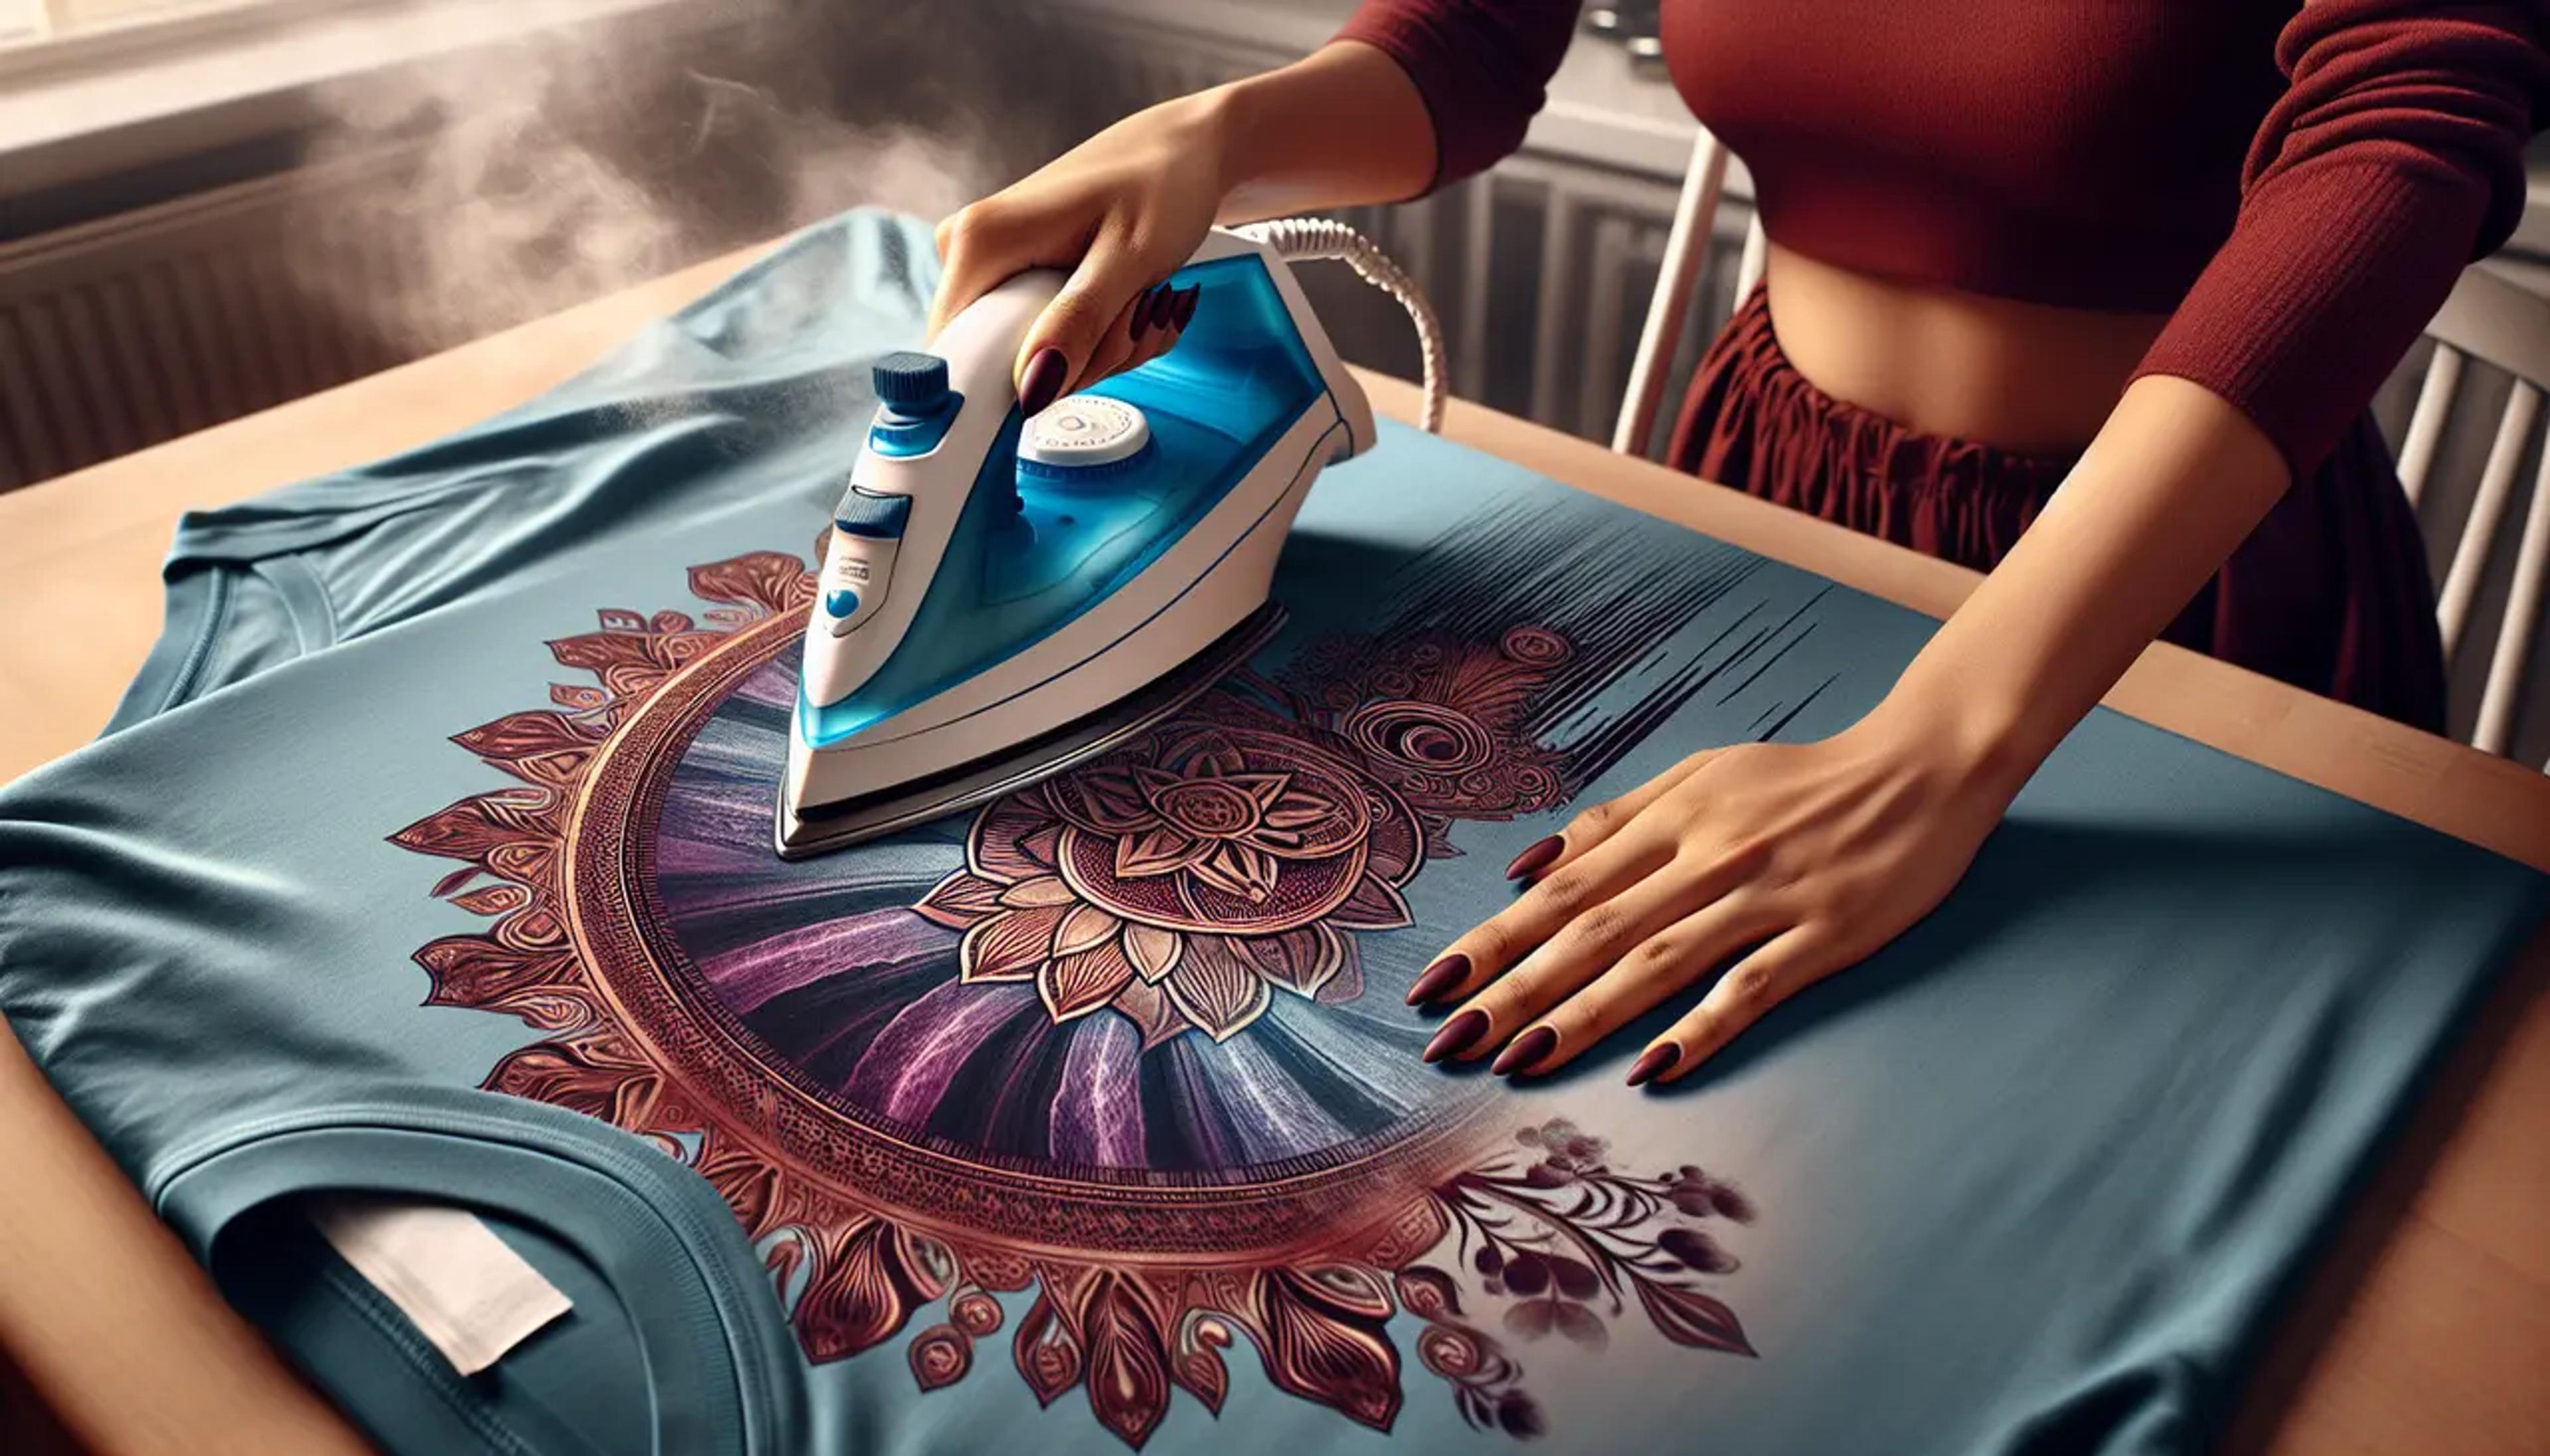
Once your design is printed on the t-shirt, it's not done yet. You've got to set the ink, so it sticks around through washes and wears. This step is called curing, and it's crucial. If you’re using water-based inks, you can cure your print with a regular iron. Just set it to the hottest setting, don't use steam, and iron the print through a thin cloth for about 3 to 5 minutes. Be sure to keep moving the iron so you don’t scorch the shirt.
For plastisol inks, you’ll need something hotter, like a heat press or a conveyor dryer, but a good kitchen oven can work in a pinch. Set it to 320°F (160°C) and leave the shirt in for about a minute. But watch it, you don’t want a baked t-shirt for dinner.
Remember, proper curing is what makes your masterpiece durable and ready for the real world. So, give it the attention it deserves. No shortcuts here, or you'll find your hard work fading away after a few washes.
Tips for Maintaining Print Quality and T-Shirt Care
Keeping your printed t-shirts looking fresh is all about care. First off, wash them inside out in cold water. Hot water is a no-go as it can mess with the print. Stick to gentle cycles on your washing machine. Heavy-duty cycles are overkill and can damage the print. When it comes to drying, air drying is your best bet. Tumble dryers can be harsh on prints. If you need to iron the shirt, avoid ironing directly on the print. Flip it inside out or use a thin cloth between the print and the iron. Store your shirts without folding them on the print area. Hanging them up or folding them carefully so the print isn't pressed is the way to go. Simple steps, but they make all the difference in keeping your t-shirts looking sharp.
Summary and Getting Started with Your T-Shirt Printing Project
Diving into T-shirt printing at home is easier than you think. First, you’ll need a design idea. What's on your mind? A catchy phrase, a cool graphic, or maybe a mix of both? Once you've got that down, the next big thing is choosing your printing method. You've got options like screen printing, which is great for bulk orders, or direct to garment (DTG) if you're aiming for more detailed designs. Don't forget about heat transfer, which works well for beginners. You'll also need a T-shirt. Cotton works best since it holds ink well and lasts longer. Now, grab the basic equipment. If you're going screen printing, get a screen and squeegee. DTG? Make sure you have a compatible printer. For heat transfer, iron or a heat press is essential. With these tools in hand and your design ready, you're all set to start printing. Remember, the first few tries might not be perfect, but practice makes perfect. Keep experimenting, and soon you'll be churning out T-shirts like a pro.

